
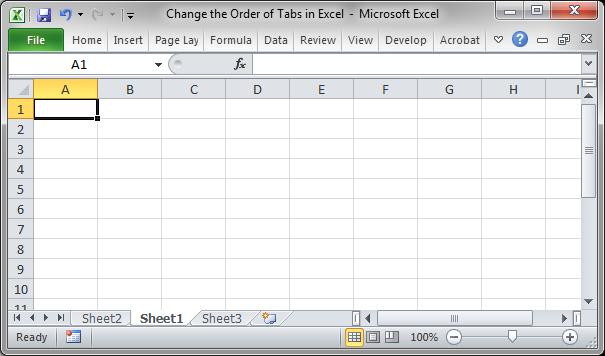
You will see the small black arrow move with your mouse to show you where the tab will be placed.
How to change the order of the tabs in your spreadsheet.
This is rather easy to do and makes your spreadsheets much easier to follow and understand. There are two ways to change tab order in Excel, and both are explained below.
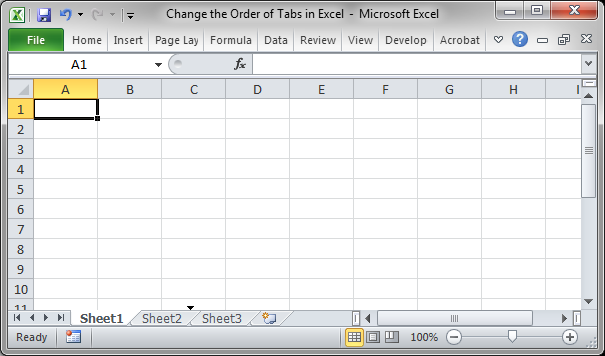
This is the easiest method when you have only a few tabs in the workbook.
This is the easiest method when you have only a few sheets in the workbook. If you have many worksheets, the next method will be easier.
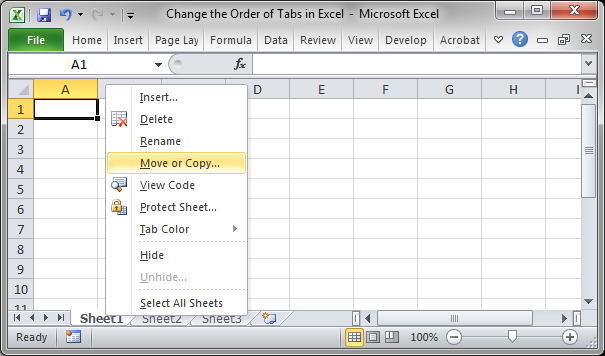
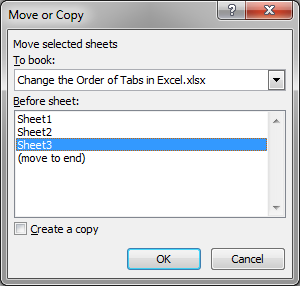
This method is the best for when you have a lot of tabs in your worksheet.

Ordering your sheets is very important when you have a lot of data and you need to send it out to someone.
You can also change the color of the tabs in Excel to better organize them.
Don't forget to download the accompanying spreadsheet for this tutorial.